
Delivering a feature with AI
Get better results from AI on Salesforce: pin down the requirements with a flow diagram, get sign-off, then plan in Cursor with my starter prompt before letting it build.

As in my last post, AI, IDEs and Salesforce, I'm sticking with Cursor here.
Start with the requirements
Assuming nothing, the first step is still to make sure your requirements are as high quality as possible. Even if your requirements have been presented to you, I recommend creating a process flow diagram of the new feature or process and playing it back to the people who will be using it.
Measure twice, cut once!
I like to use Lucidchart or draw.io for this, as it's quite hard to misinterpret a flow diagram. Without one, people tend to just nod along to whatever you say, which will come back to bite you in the end.
If you have any meetings, it's useful to turn on transcription for those calls, as it's hard to remember every part of the conversation. You can always use these transcripts and AI to help draft the diagram; however, we shouldn't rely on it!
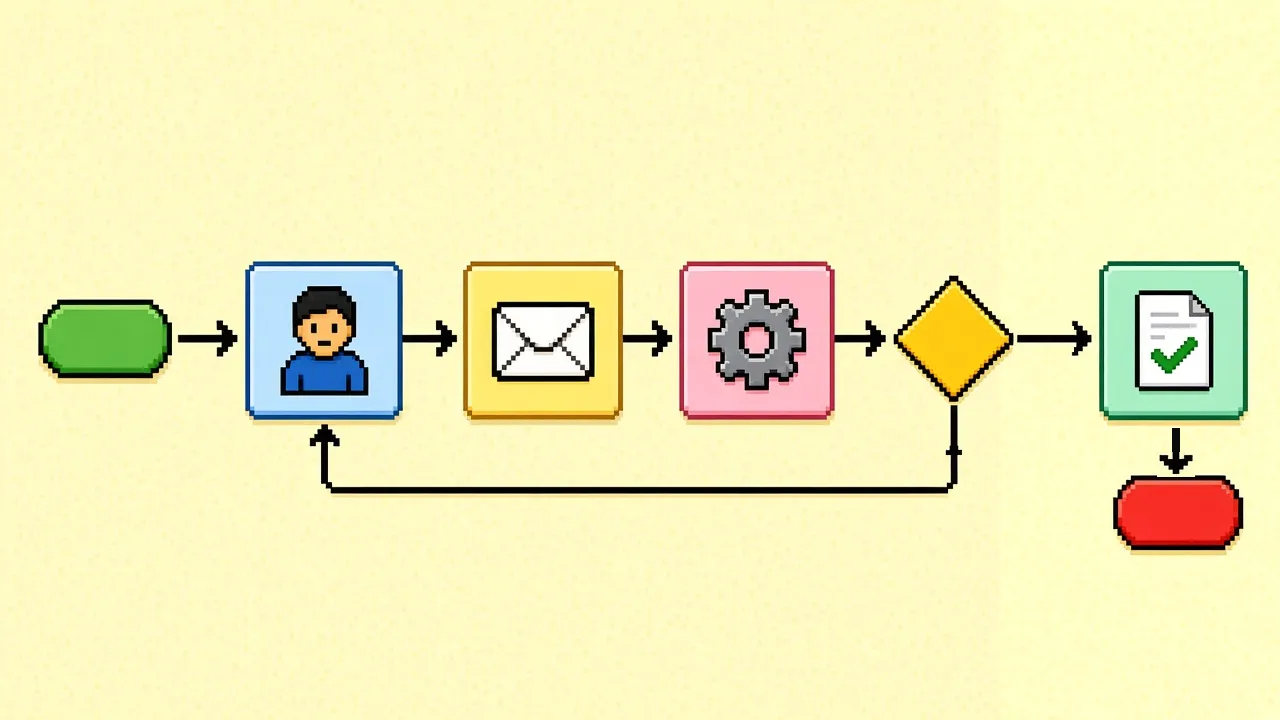
Get it signed off
Now that you have a diagram and a summarised write-up of the delivery, get them signed off by the person who is ultimately responsible for this delivery. This is their commitment to you that it covers everything they're expecting. This way, if they ask for more later, you can say that it's an enhancement, not a bug. You'll thank me later!
Plan it in Cursor
Now open your project in Cursor and switch to Plan mode (press Shift+Tab in the chat box, or use the mode picker).
You'll want to use a frontier model here, on a high-ish effort level. It's worth noting that, for Salesforce at least, only the higher-end frontier models have had enough Salesforce training. Models like Composer 2.5 may perform well in many situations, but they're poor at Salesforce, Apex and so on, and shouldn't be used for planning or agent work (for Salesforce, at least).
Use the latest Grok or Claude Opus model, or something more capable.
Attach any supporting material you made during requirements gathering: diagrams, documents, images and so on.
Now slap in my generic, one-size-fits-all planning starter prompt. (Make sure you set the org you want the plan to reference at the top!)
Target Salesforce instance: [ORG ALIAS OR USERNAME]

Create an implementation plan for the feature or build described in the attached documents. Do not implement anything until I approve the plan.

## 1. Review the attached documents
- Read every attached document in full.
- Extract the requirements, acceptance criteria, constraints, dependencies and out-of-scope items.
- Note any gaps, ambiguities or contradictions within or between documents.

## 2. Review the Salesforce instance
First, confirm the connection to the target instance and show me its org name, username, org type and instance URL. If you cannot connect, or the details look wrong, stop and ask me. Use only the target instance, never the default org unless they are the same.

Keep this review strictly read-only:
- Do not deploy, push or delete metadata.
- Do not create, update or delete records.
- Do not run anonymous Apex.
- Do not change org settings.
- Do not overwrite local project files. If you need to retrieve metadata, put it in a temporary directory outside the project.

Review everything in the instance that the feature could affect, including where relevant:
- Objects, fields, relationships, record types and picklist values
- Apex classes, triggers, trigger frameworks and test classes
- Flows, validation rules, approval processes and other automation
- LWC and Aura components, FlexiPages, page layouts and Experience Cloud sites
- Profiles, permission sets, field-level security and the sharing model
- Custom metadata, custom settings, custom labels, named credentials and integrations
- Scheduled and batch jobs, platform events and installed managed packages

Base your findings on what is actually in the instance. In particular:
- Reuse existing patterns, naming conventions and components where they are suitable.
- Check the order of execution across existing automation on affected objects.
- Identify conflicts, regression risks and governor limit concerns.
- Treat the instance as the source of truth, and flag any differences from the local repository or from what the documents assume.

## 3. Ask me questions
Ask about anything you cannot resolve from the documents or the instance. Do not ask me for anything you can find out yourself.

Use the question tool for every question, not plain chat text:
- Cover one decision per question.
- Give 2 to 4 realistic options.
- Put your recommended option first and add "(Recommended)" to its label.
- Explain why you recommend it, citing the relevant document or Salesforce component where possible.
- Group related questions into small batches, with the decisions that affect the most other work first.

After each batch, update your understanding and ask any follow-up questions. Do not finalise the plan while a question that would materially change it remains open. If the question tool is unavailable, tell me and use the same format in chat.

## 4. Write the plan
Once the questions are resolved, write a plan with these sections:
1. Summary: the objective and the overall approach
2. Scope: what is in and out of scope
3. Instance findings: what you reviewed and how it affects the design, naming specific components
4. Decisions: the decisions made, including my answers
5. Solution design: the data model, automation, Apex, UI, security and integrations
6. Metadata changes: each component to create or modify, marked as new or changed
7. Implementation steps: in dependency order, small enough to complete and verify one at a time
8. Testing: Apex tests, coverage targets, automation and UI tests, permission testing and regression testing of affected functionality
9. Deployment: order, pre- and post-deployment steps, data migration and rollback
10. Risks and assumptions: each with its impact and mitigation
11. Requirements traceability: each requirement mapped to its plan steps and tests

Label any item you could not verify as an assumption, and do not present it as fact. Then stop and wait for my approval.
Review and refine the plan
Cursor will now create a plan to deliver the work, taking the current state of the org into account, and ask you any questions that come up. These may be about finer details or how to implement something.
At the end you'll have a plan that you can review and adjust in the same chat session. Keep adjusting it until you're happy with what it proposes to build.
For example, I often tell Cursor to move variables that I know are likely to change into custom metadata type records, so that I can adjust or add to them later without having to change the code.
Build it
When you're ready to build, select the model you want to build with. As I mentioned before, if this is a Salesforce build, stay with a high-end model on a medium or high effort level. If it's a website or a more common programming language, a cheaper or faster model like Composer will work very well if token usage is a concern.
The build agent will usually deploy as part of the process (with Salesforce, at least), so you can keep an eye on it in the org itself under Setup > Deployment Status.
Once it's finished, test your new feature in depth, as AI isn't perfect and some things may not behave as expected. You can, and should, make adjustments in that same chat session, as context usually doesn't carry over well, or at all, between chat tabs.
Why go through all this?
- Planning first and then building takes a lot less time overall.
- It's far more efficient on AI usage, which matters if you're building a lot.
- You'll almost always get better results.
- You'll get there in fewer steps.
Of course, there's a lot more to it than I've covered here, but this is a quick, simple introduction to getting high-quality results from your AI setup and Salesforce.